
My love of dairy goes way back. Does anyone remember getting deliveries from a milkman? Living in Minnesota from about the ages 4-6, we had deliveries weekly. That was the end of an era because I never remember having one after we moved. (And, yes, I look very much like my father, so no need to go there…)

During that time, when I was in kindergarten, our teacher brought in a large jar partially filled with heavy cream. It was a lesson in transformation. She had a box of Saltine crackers and told us we were going to make our own butter. I was so excited! The whole class sat in a row and we each got to vigorously (as much as a five or six-year-old can) shake the jar. It became whipped cream, and then slowly became butter. Of course, it was the most delicious thing we’d ever had, because we made it!

I’m often left with leftover heavy (whipping) cream when cooking. A recipe might call for anywhere between a couple of tablespoons to a half cup. But then what do you do with the rest? You can freeze it to use it in future recipes. But frozen and defrosted cream will not whip.

___________________________
Did you enjoy reading or making the recipe from this post? If so, please give it a “like” or a comment. It would be nice to know you are out there and that my posts connect with you.
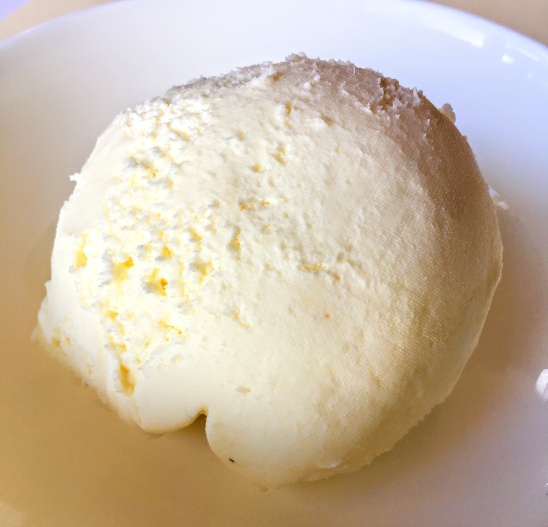
Homemade Butter
Ingredients
One cup of cream yields about a half a cup of butter. (2 parts heavy cream yields 1 part butter.)
Directions
- Use beaters, a stand mixer or food processor. All methods work the same but take different amounts of time.
- Beat or process the cream until it becomes whipped cream. Keep going until it starts to condense.
- Keep going until the butter and buttermilk separate and form clusters or clumps (This took about 10 minutes in my food processor, but everyone’s equipment is different. The important thing is to keep the motor running until the butter separates and forms large clusters).
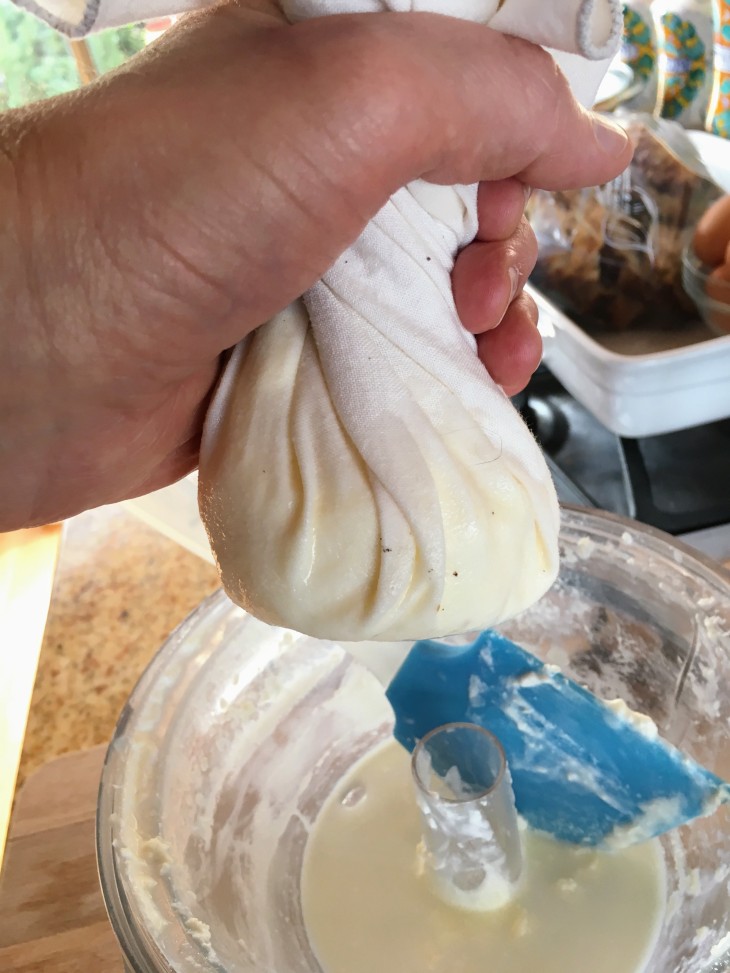
- Drain off the buttermilk in a colander. To extract even more liquid, place the drained butter clumps in a linen or tight knit tea towel. Gently wring out any remaining liquid. Alternatively, you can press out extra liquid by using your hands, skipping the linen towel, However, the warmth of your hands will start to melt the butter, so press out the buttermilk under very cold running water to avoid it from melting. A few good gentle hand squeezes ought to be plenty.
- Store in refrigerator up to a month.

Can you use Cheese cloth for the draining, or is that weave too loose?
LikeLike
Ralph — I haven’t tried, it, but I would think that criss-crossed triple or quadrupled cheese cloth ought to work fine. The key is to press gently so the butter doesn’t ooze out of the cheese cloth mesh. Let me know how it works out if you try it!
LikeLike