
With warmer weather it’s time to get outside. Linzer-like bars, a shortbread crust with jelly filling, are a simple and portable snack to take on the go. Why I decided to make them now is another story…
 (1)")
")
A couple of months ago, my spring cleaning efforts revealed a plethora of nuts in my freezer. With those I made variations on Rosetta Costantino’s 3-Ingredient cookies. This week I turned my attention to cleaning out my small pantry. It’s amazing how many things you can pack into a small space that were once so important, but now nearly forgotten.
When I travel I like to bring back food items I can’t find in San Francisco. Jellies, jams and preserves often catch my attention and I pack them carefully inside of shoe cavities in my suitcase for protection. That’s a tip worth remembering — never has one broken! All these preserves are purchased with good intentions of spreading on homemade English muffins or making jam tarts or Linzer cookies. Yet, then why do I have nearly one dozen jars that have wiggled their way to the back of a difficult to reach shelf? For the moment, let’s ignore my jelly hoarding tendencies. What’s important is choosing which flavor of jam I want for my Linzer bars right now!
")
")
Traditional Linzer tarts or cookies have peek-a-boo jelly that looks like stained glass and also have ground nuts in the crust. My version of Linzer bars are fully covered and with the nuts on top to help avoid sticky fingers and make them more portable.
___________________________
Did you enjoy reading or making the recipe from this post? If so, please give it a “like” or a comment. It would be nice to know you are out there and that my posts connect with you.
Linzer Picnic Bars
Ingredients
- 2 1/4 cups (281 g) all purpose flour
- 1 cup (2 sticks, or 1/2 pound or 227 grams) unsalted butter, room temperature
- 3/4 cup regular white granulated sugar
- 1/4 cup light brown sugar, very lightly packed
- 1/2 teaspoon kosher or sea salt
- 1/2 teaspoon almond extract
- 1 jar (approx. 12 ounces, but no more) jam of your choice
- 1 cup slivered almonds
- Powdered (Confectioner’s) sugar for dusting, if desired
Directions
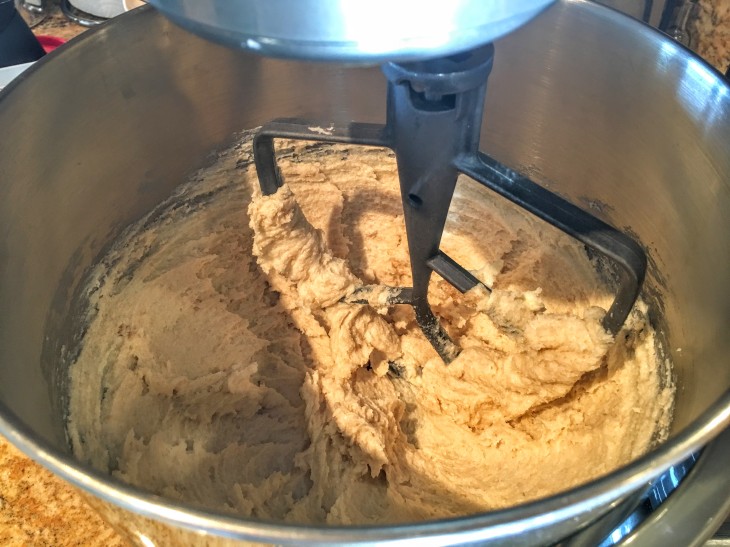
- In a stand- or hand-held mixer, cream together the sugars, room temperature butter and almond extract on medium-speed for approximately 2 minutes. Be sure to do a visual check that all of the brown sugar has been creamed into the butter and that no lumps remain
- In a separate bowl, sift or whisk together the flour and salt, then slowly add them into the creamed mixture on low-speed until just combined
- Set aside 1/2 cup lightly packed dough. This will be used for a topping
- Using the bottom of a measuring cup, or a piece of parchment paper, evenly press the remaining dough into a foil or parchment-lined 8″ square pan (20 cm). Create a lip of dough between 1/4 – 1/2-inch (.5 – 1 cm) to allow space for the jam and topping. NOTE: Make the base at least 1/4- to 1/2-inch thick or it will be too soft to support the jam and topping and end up more like a fruit cobbler (my lesson learned from a too thin base!)
- Spread the jar of jam evenly on top of the pressed dough
- Mix reserved dough and slivered almonds with your hands and break into pea-sized pieces. This is your topping
- Distribute the crumbled almond topping evenly over the jelly. Gently press down the topping into the jam
- Pre-heat oven to 350F (180C)
- Refrigerate the pan for 30 minutes
- Bake for 40 minutes. The edges of the dough should be golden brown all over
- Cool completely on wire rack
- Remove from the pan and cut into bars using a serrated knife and gentle sawing motions
- Dust lightly with powdered sugar, if desired
- Store in an air tight container at room temperature for up to 5 days

I used a 9.5 inch deep dish pie pan as I didn’t have a square pan and the bars turned out great. My jam of choice was raspberry and it tasted delicious. I served these for dinner guests recently and they were quite a hit. Definitely worth making again and it would be interesting to try other jam flavors.
LikeLiked by 1 person