No doubt if you enjoy cooking or baking you have at one time stumbled across the “No Knead Bread” recipe. Here’s how to make it much easier and more flavorful.
I first heard of it in the New York Times cooking blog published by Mark Bittman, and he credited another baker, Jim Lahey. Since then I’ve seen lots of other versions by other bakers, including just this week after I drafted mine. There were only four ingredients in the original recipe, but the process was cumbersome. I gave it a go nonetheless.

My first result was disastrous. It didn’t rise, the process was extremely “wonky” (For instance, it asks you to heavily flour a tea towel to transfer the dough into a screamingly hot Dutch oven. Why the tea towel?!), and the bread was gummy and flavorless.


After reading dozens of readers’ comments from the original recipe, I decided to give it another go and weighed my ingredients. (in my recipe below, if you don’t have a scale, I’ve given instructions for a teaspoon-by-teaspoon volume measure that works). This time it was a success, but it was still flavorless. The original recipe uses next to no salt. That’s the reason why it is flavorless. It was much like the famous Italian Tuscan bread.

I am looking around and ducking as I type this but, “Sorry, Tuscany, but your ‘days of yore’ traditional bread is terrible!” Fun fact: Tuscan bread has a long history. Tuscan’s purposely did not use salt because it was only baked once a week in communal ovens. It had to last the whole week without getting moldy. Using salt attracts moisture which causes mold.


Using the original recipe as a starting point, I simplified the process and made a few ingredient tweaks as well. Here’s where the “nearly” knead-less part comes in. After its first long rise, I slowly added in more salt while kneading the dough about 20 times. Really — this is less than one minute of kneading! Anyone can do that. Then you let the dough rest for another two hours. The addition of the salt gives it flavor whereas it had none before. This is also the point where you can add in other ingredients like seeds, olives, dried fruit, spices, or anything else that doesn’t have a lot of moisture.


I’ve done the experimentation for you. Even if it sounds complex or daunting, it’s actually very easy. And, the hands-on preparation time is less than 10 minutes. The rest of the time is going about your business. Give it a go!
___________________________
Did you enjoy reading or making the recipe from this post? If so, please give it a “like” or a comment. It would be nice to know you are out there and that my posts connect with you.
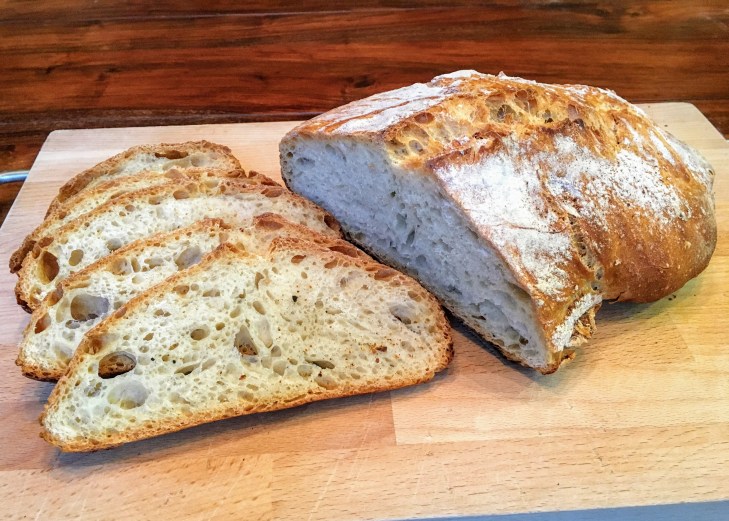
Nearly No-Knead Bread
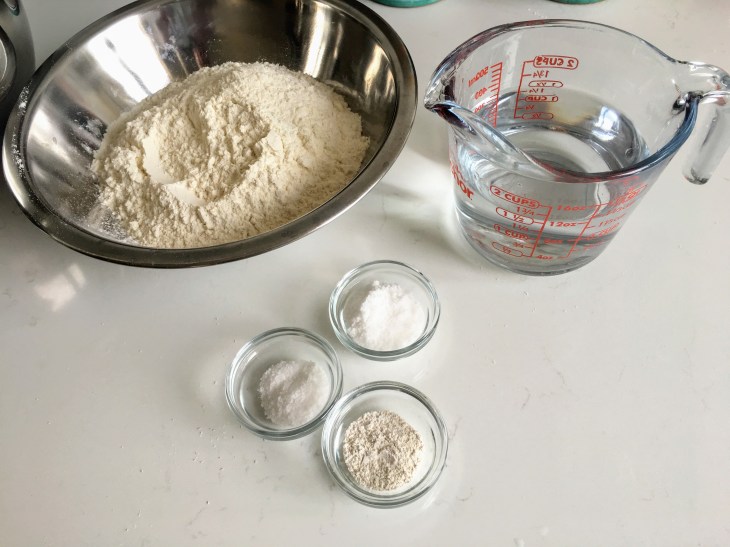
Ingredients
- 430 – 470* grams of all purpose flour (if you don’t have a digital scale, here’s what you can do, instead: scooping one small spoonful at a time, fill and level 3 + 3/4 cups of flour. This should equal very close to 430 grams)
- 1 1/2 cups minus two tablespoons room temperature water
- 1/2 teaspoon instant yeast
- 3 teaspoons kosher or sea salt (not table salt) divided
Ingredients
*UPDATE: I have been adding about 40 more grams (1/3 cup) of flour in step 1 recently. I found that I needed more flour than usual when I kneaded in the extra salt during step 4, below, because the dough was too loose and sticky. After making 6 loaves with a consistent result, I decided it was time to update this recipe! It all depends on what type of flour you use and how humid it is outside. In Italy I use Type “0” , which is the closest to all purpose flour. It is more finely milled and lower protein than all purpose. If you are making this and find that the dough is too loose, feel free to add a little more flour.
Directions
- In a large bowl combine flour, yeast and 1 teaspoon salt (save the rest for later use)
- Add water, and stir until blended; dough will be wet and sticky
- Tightly cover the bowl with plastic wrap. Let the dough rest at least 16-18 hours at room temperature, about 70 degrees
- Lightly flour a work surface and place the dough on it. With the remaining salt, sprinkle a pinch over the surface of the dough along with a little flour and knead a few times. Repeat this process until the rest of the salt is incorporated, kneading a few times after each salt addition
- Form the dough into a ball (boule) and EITHER carefully place it in a fresh bowl sprayed lightly with vegetable or olive oil, OR place it on a piece of parchment paper and place that in a bowl. Cover tightly with plastic wrap and let rest for two hours
- At least 40 minutes before the dough is ready, pre-heat the oven to 450F (230C). Important: Place a 6- to 8-quart heavy covered (with lid) pot –cast iron, enamel, Pyrex or ceramic — in the oven as it pre-heats.
- When the dough is ready, carefully remove the pot from the oven. Again, carefully! It will be SCREAMING hot. It’s human nature to see a lid or handles and want to reach for them without pot holders. Don’t do that… Use pot holders!
- Place the dough into the heated pot (including the parchment paper, if you used it) . With a sharp knife, make a shallow slit down the center of the dough to encourage even rising and baking. Or, if you’re feeling fancy, lightly carve some designs in the dough. But work fast. Using a pot holder, cover the pot with the heated lid and bake 30 minutes, then remove lid and bake another 15 to 30 minutes until the loaf is medium- to dark-golden brown. Cool on a rack. Do you have to use potholders? YES!

For sure I’m going to try this. As soon as I get back from Cuba 🇨🇺. Abrazos
Renzo
>
LikeLiked by 1 person